Ann and I finally got together mid June to set up our indigo vat. I had spent ages tying, binding, folding pieces of fabric.
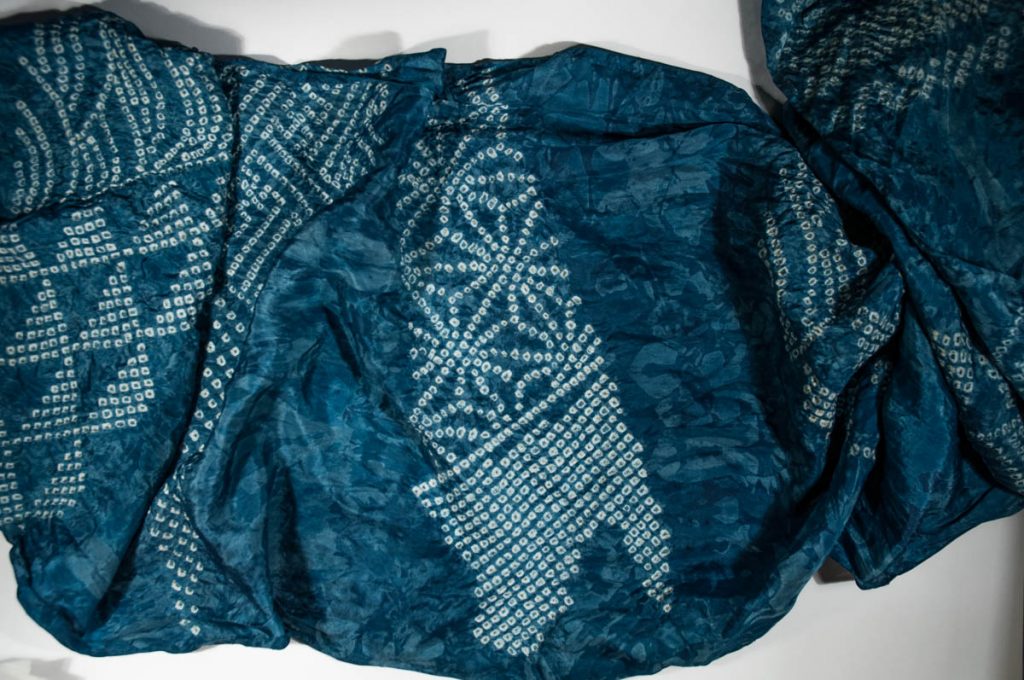
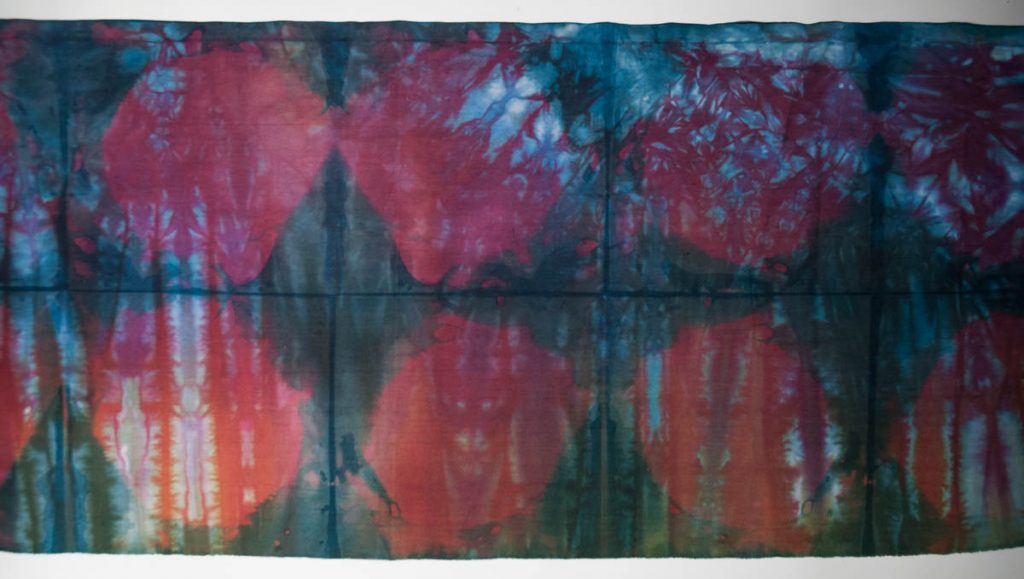
This first example is half of a long piece of silk, already knotted, that I had bought at the flea market. I have a feeling that it might have been a student’s sample piece as, when I came to pull open the knots, they didn’t all have the same amount of tension to them. However, it makes a lovely scarf.
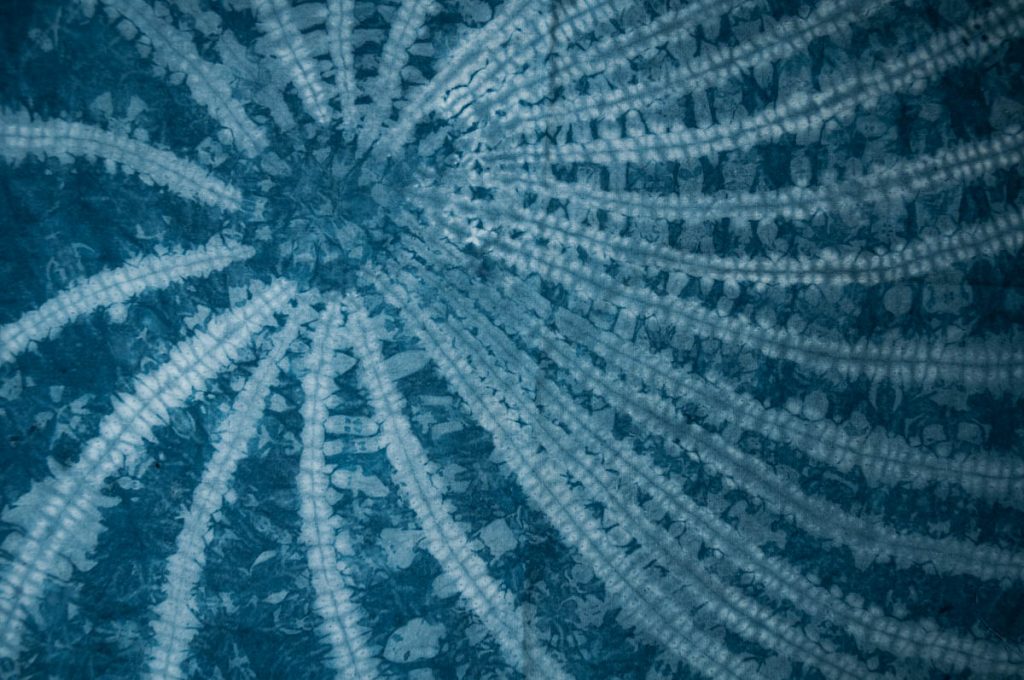
Here the lines have been over stitched and pulled tight, the centre circle stitched and bound.
Different sized spider’s webs, each one bound tightly and knotted.
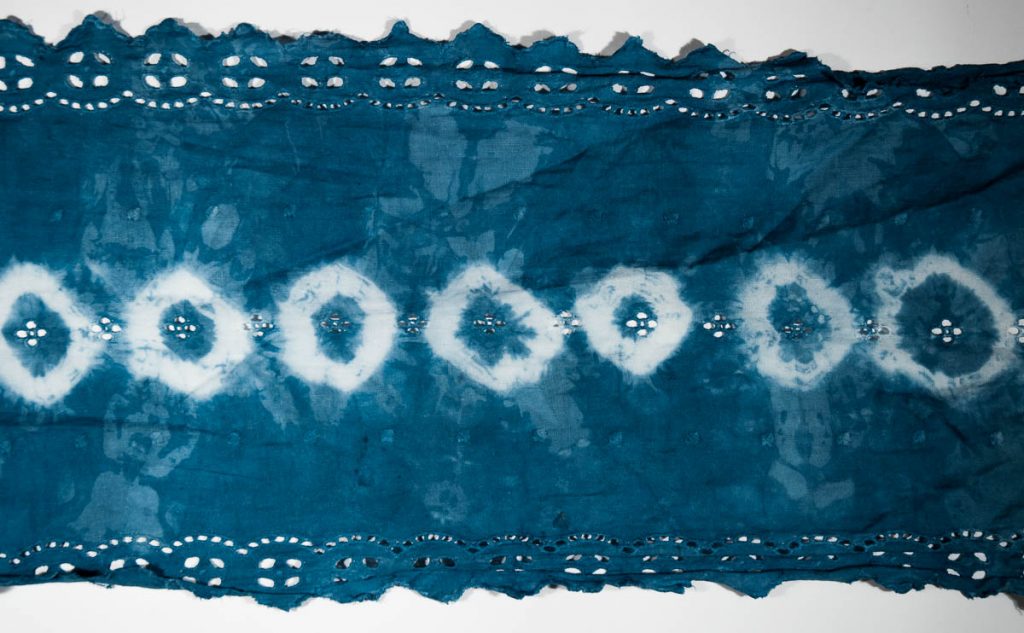
A piece of border anglaise, with the fabric caught up and bound tightly with elastic bands.
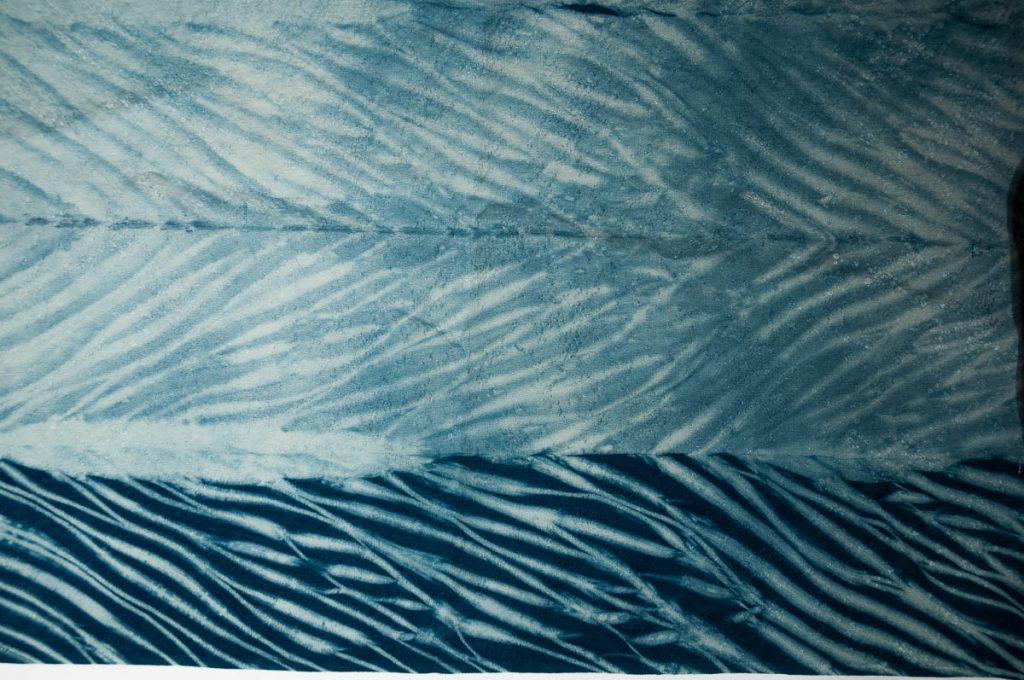
A piece of pale blue Japanese silk, arashi dyed (fabric folded lengthways, wrapped around a pole and compressed).
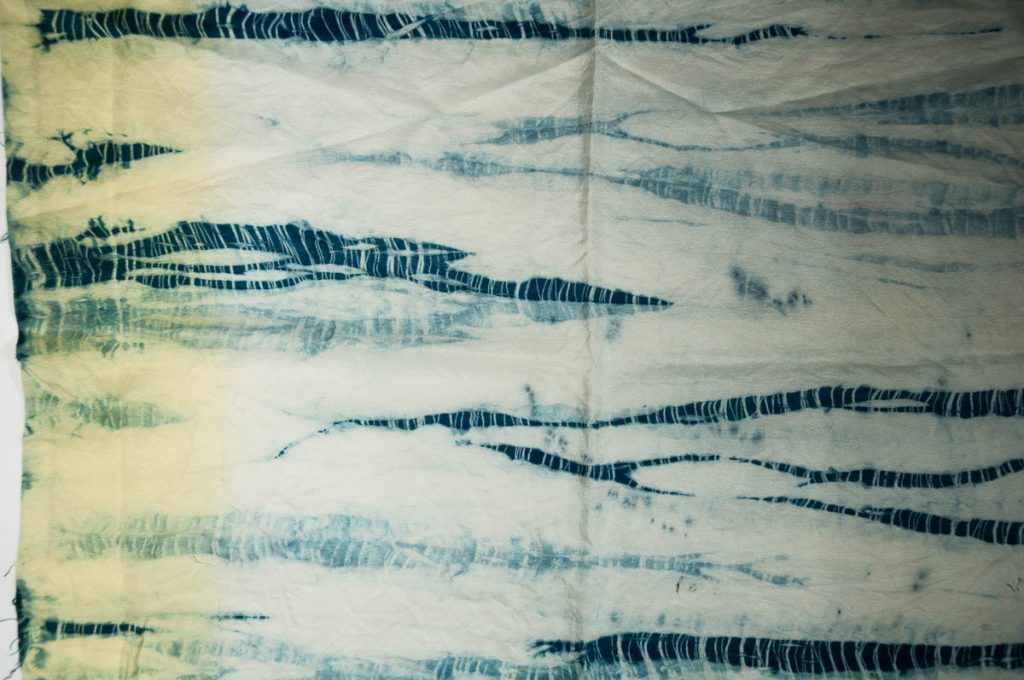
A piece of Japanese lining silk, yellow at one end, folded into narrow folds around a piece of rope and tightly bound with string. It came out somewhat paler than I had hoped for, but is still interesting.
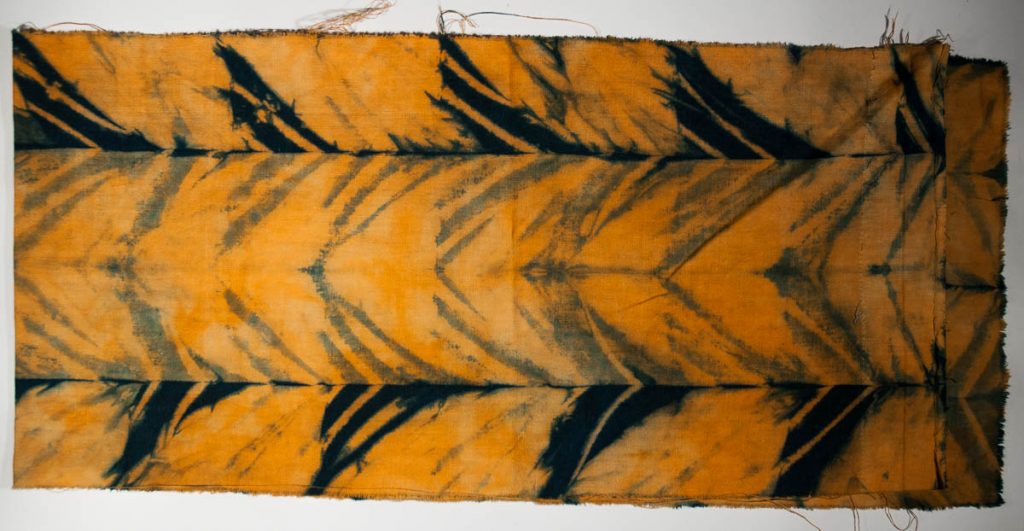
Cotton fabric previously dyed orange, folded into four lengthways and then into triangles which were wrapped and tied around a pole.
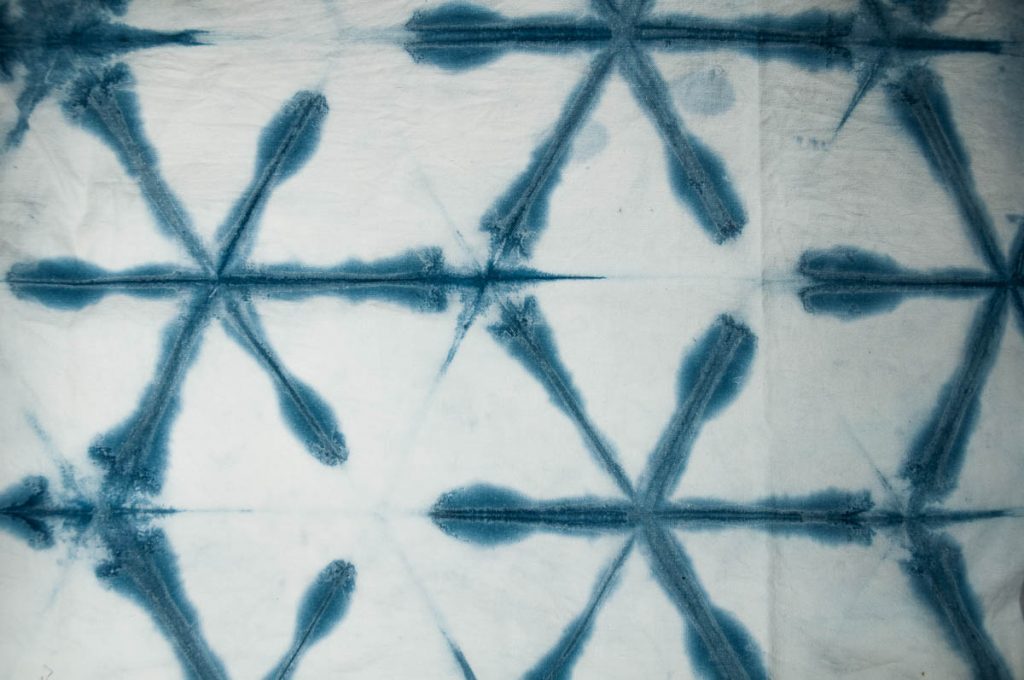
Itajime : Cotton fabric folded into triangles, clamped with rectangular blocks, two sides only lowered into the dye pot. Not as good as I hoped for, but the snowflake is a very difficult effect to achieve.
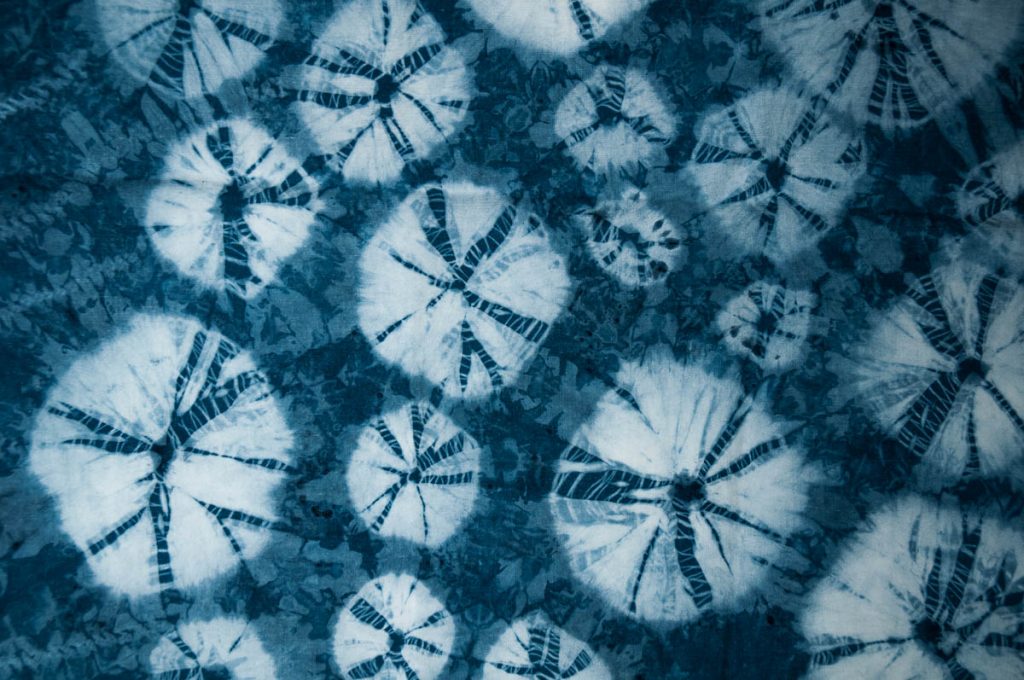
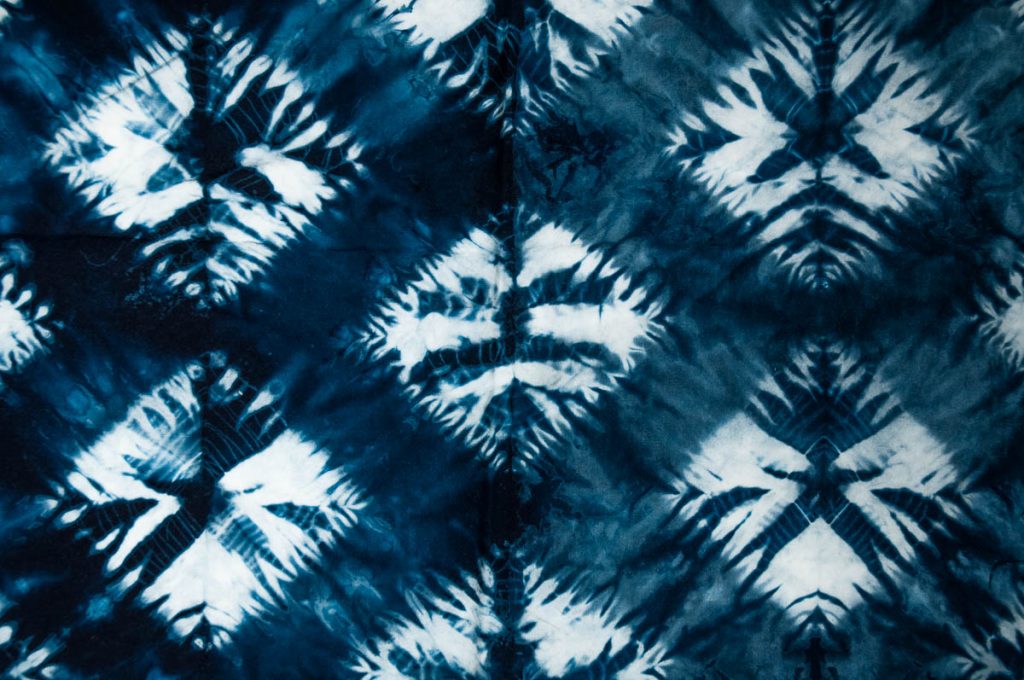
This is another pre dyed piece of cotton which I clamped with round blocks. I am really pleased with the effect here.
This piece was folded lengthways into four, stitched along the edge in a triangle shape and when the thread was pulled tight, the cloth at the centre was tightly bound. I also left it in the dye pot overnight in error, but am pleased with the density of colour.
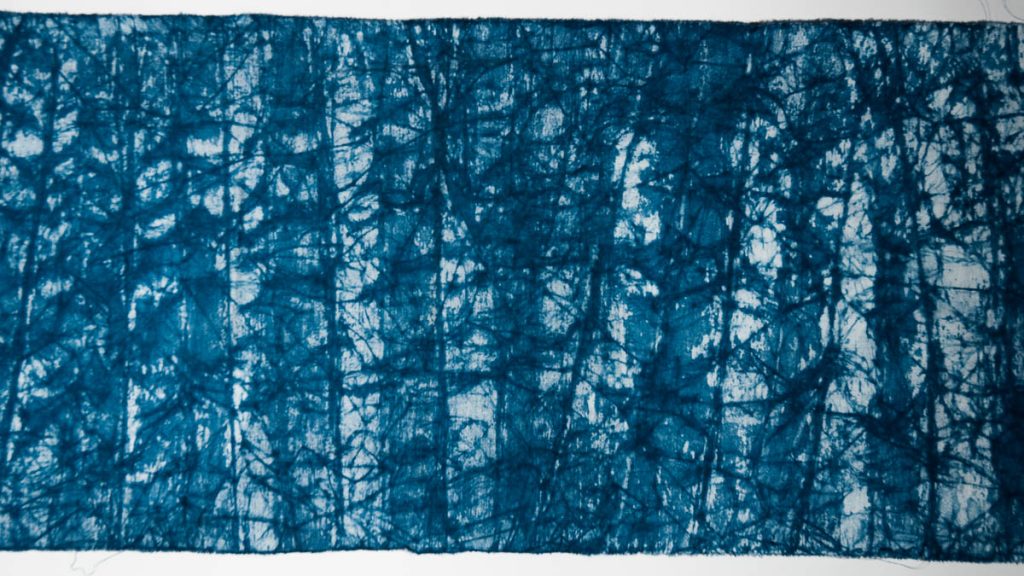
Soya wax painted over the cloth, rubbed and cracked before dyeing.
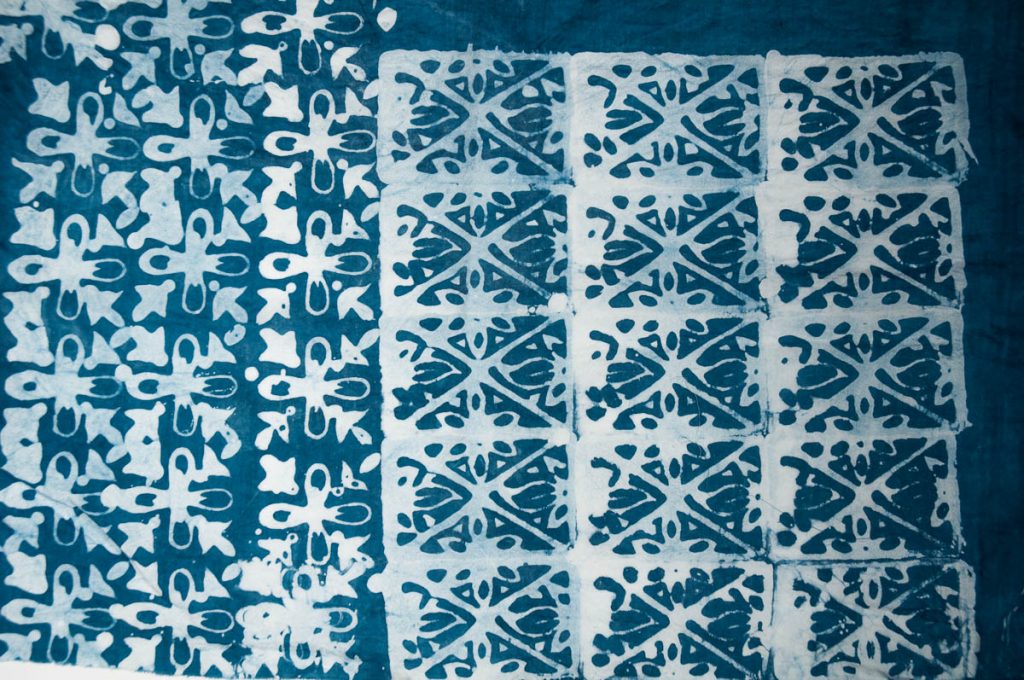
Woodblock resist prints using soya wax.
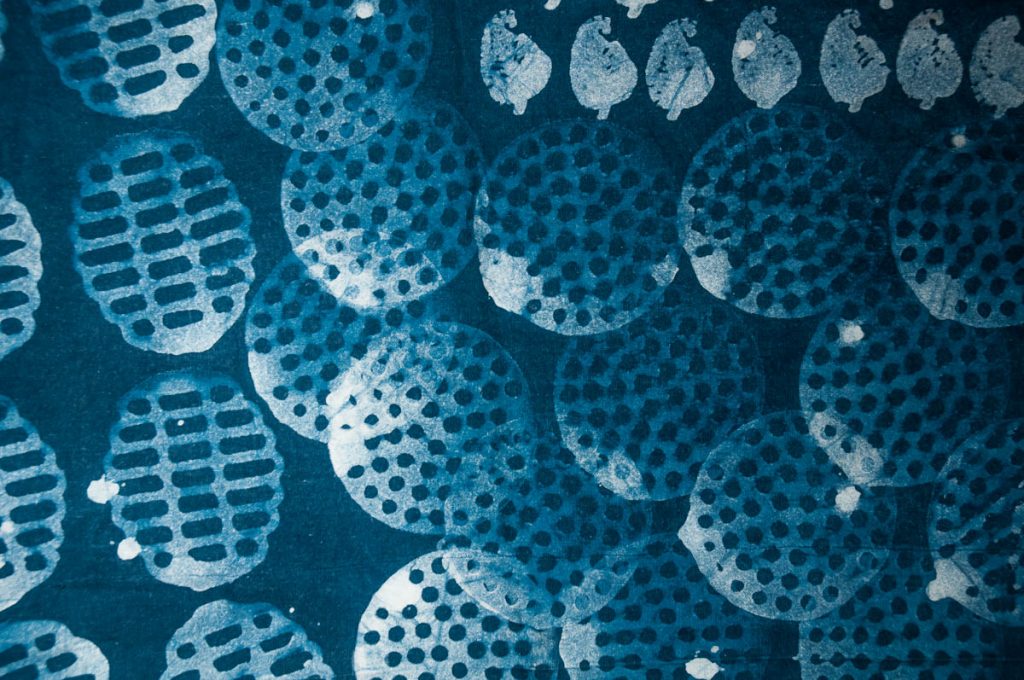
A potato masher makes a good resist print, but I should have been more careful of the drips.
These are just a few of my pieces. I also dyed a T-shirt which I had tied in mokume style (horizontal lines stitched off set from the previous line, pulled tight), which I love and wear all the time (photo to follow).
