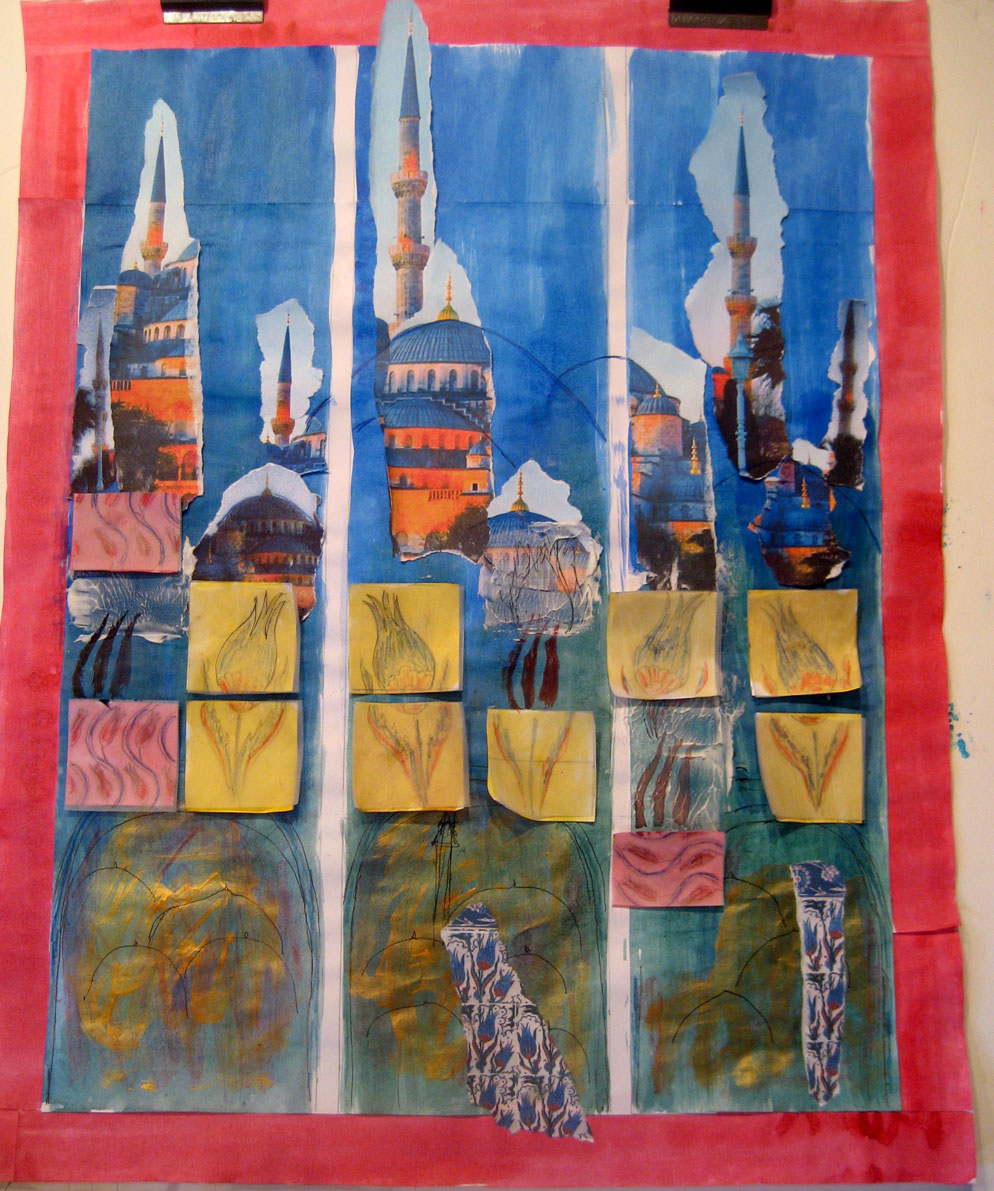
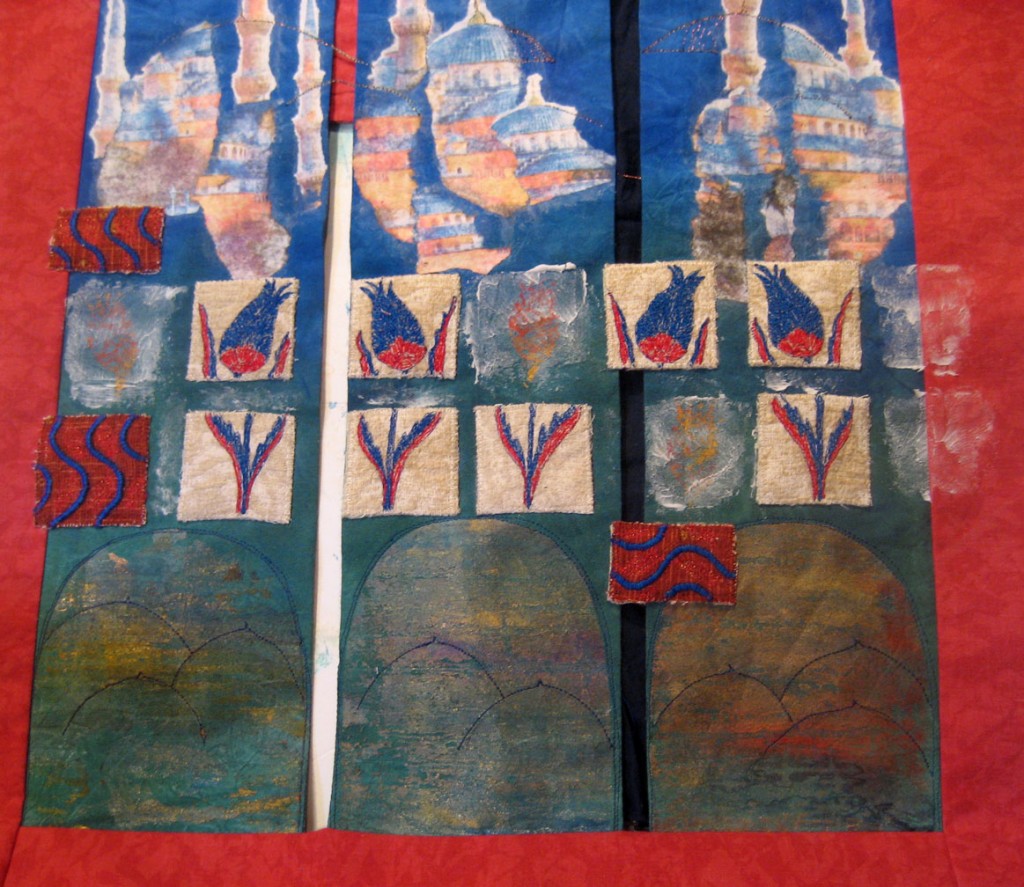
I’ve done a lot more playing around with the tiles. I’ve moved the tiles down by removing the third tile on the far right, which gives a much better positioning. this means the missing moulding paste tiles are no longer correctly placed but I can see where these will go and I will also put a little paste between each tile. I thought a stenciled tile (probably a little fainter than shown here) would work well in the missing spaces and make sense of the middle tile of stem and leaves. I’ve also reduced the size of the top and bottom red tiles. I moved the two border tiles on the left into the exterior border. I then added some torn strips of tile print into the arched shapes at the bottom (second image below) to re-enforce the tile theme. I haven’t yet decided the final placing of the strips – whether to have them in all three arches or not. And because I will have a couple of strips extending into the border, I moved the two left hand tiles back to their original placings. The painted bondaweb will extend throughout the whole arch which I hope gives depth to the idea of looking through the arch and I thought to extend scraps of bondaweb into the lower border. I will shorten the arches slightly so only the right hand border tile protrudes into it. The other tiles will be just above the top of the arches.
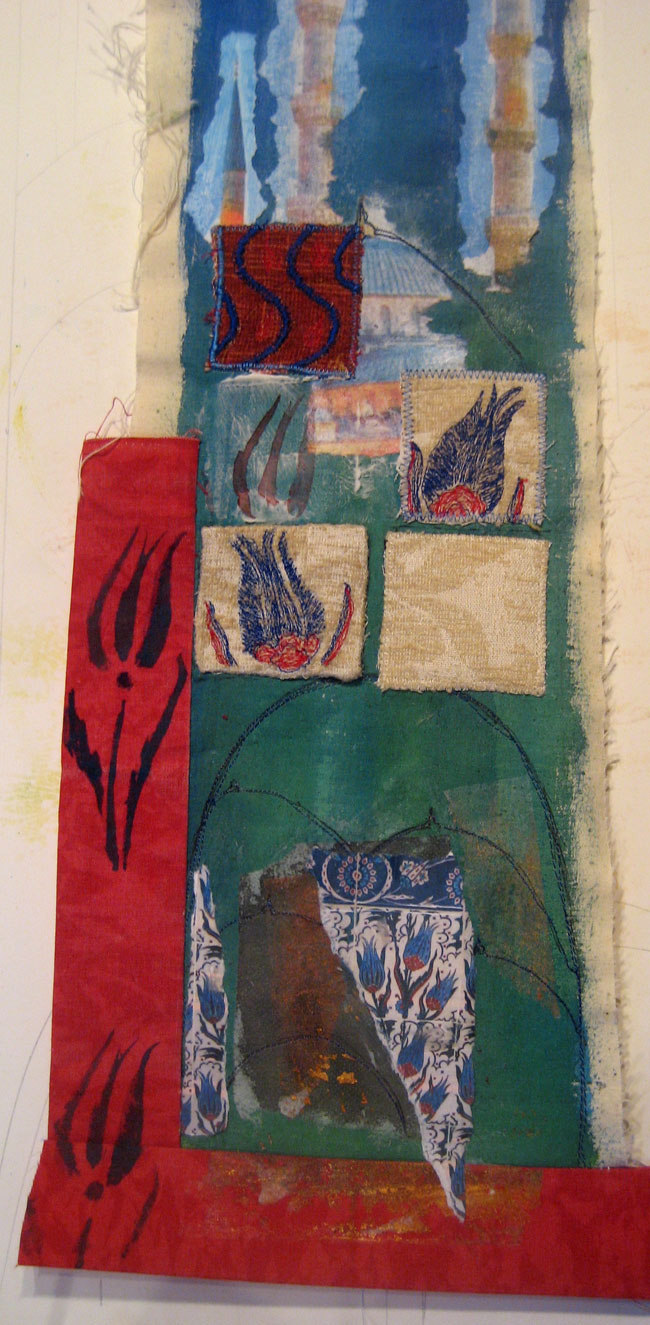
I tried out some more ideas on the fabric mockup. I like the idea of tearing the paper closer to the actual minaret shapes so will do this more. I inked and then stitched the dome and arch shapes. The tiles are obviously not in the correct place, but I wanted to try hand stitching one with the edges turned in. I don’t feel this works – the fabric is so heavy and loosely woven that I didn’t feel it was neat enough, so I have settled on the shape on the right which is machine stitched with a long zigzag in the same colour thread as the fabric so it hardly shows. I tried the stencil on the border but don’t feel this works, so won’t use it. I’ve also enlarged the border from 3 to 4 cms on the fabric mockup below. I’m not sure about this but I think the final decision will have to wait until I see the three panels stitched and placed together.
I’m having to rethink the top and bottom edgings. Just stitching onto soluble will be too flimsy. I thought of stitching onto scrim and soluble but again too flimsy, won’t look right. My latest idea is to use felt and burn away the edges. I want to make small paper beads to hang on the tassels. I would also have to make holes in the felt through which to thread the tassels.
September 17th
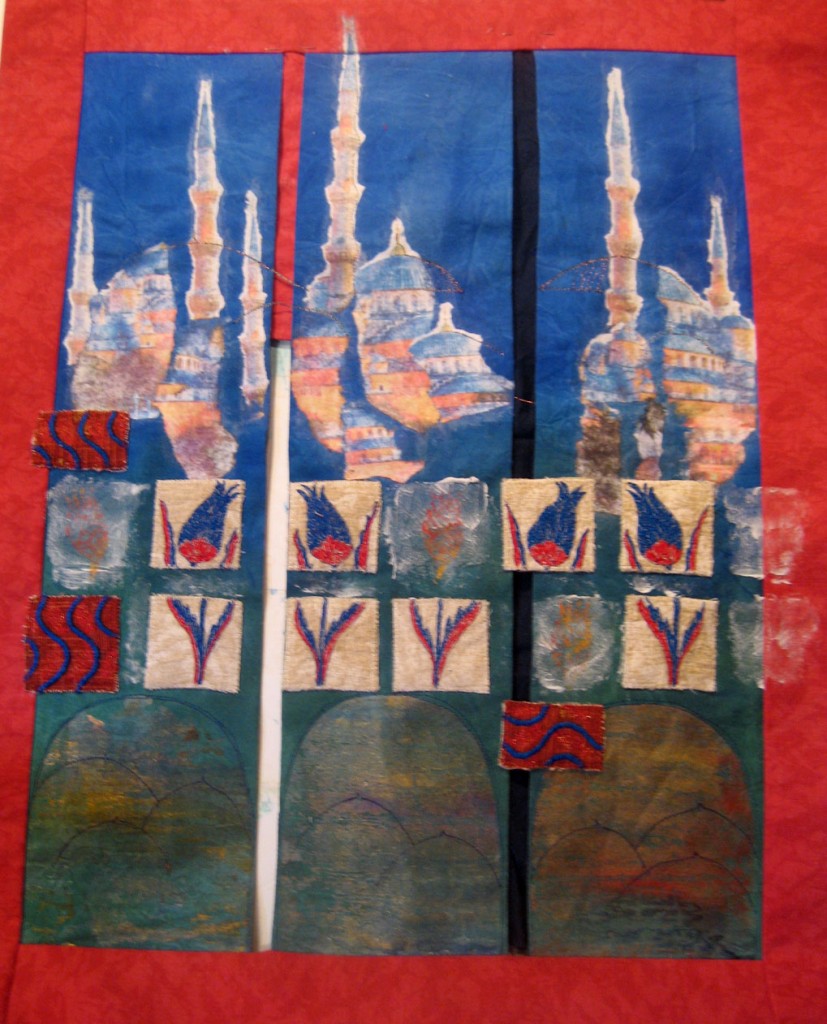
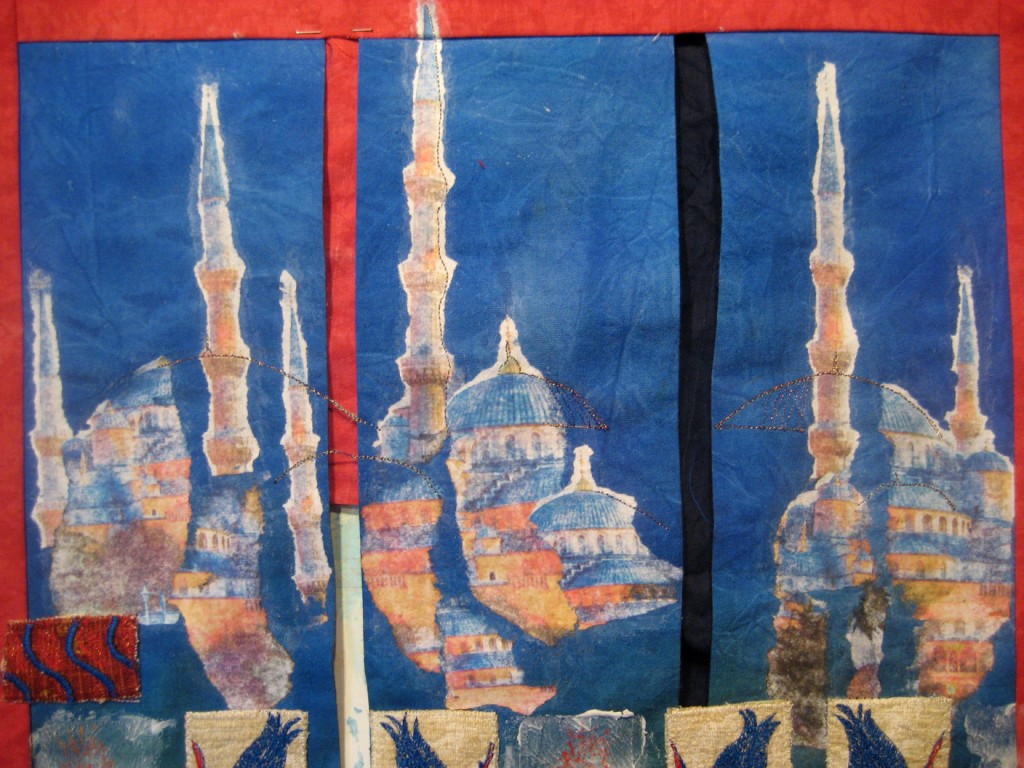
Here is the work I have done so far on the finished piece, with detailed pics below.
I think I prefer the dark background betwen the panels. It is a piece of almost black indigo cloth. I don’t have enought to do the entire backing with, so will use two pieces where the gaps are sown onto the red fabric which will form the backing ( I would have had to use two panels of red anyway to show the front of the fabric). I’ve used a mix of gold and copper threads for the stitching on the domes and minaret. I am undecided whether I need more stitching or whether this is enough. I want suggestion rather than overstatement.
I only used one layer of felt behind the tiles, having used some iron-on interfacing to anchor the threads at the back. Possibly I should have used two layers. The print on to the moulding paste was done with an expanded foam tulip shape to give a faint undefined shape. I have yet to add the tile images within the domes and I am thinking of adding some granite stitch in gold which will meander into the border. I haven’t yet decided on the width of the borders, nor have I experimented with the top and bottom borders.
December 20th
I have decided to have the red borders at 2 cms top and bottom, 5 at the sides. With the additional top and bottom edge borders I think this will balance well.
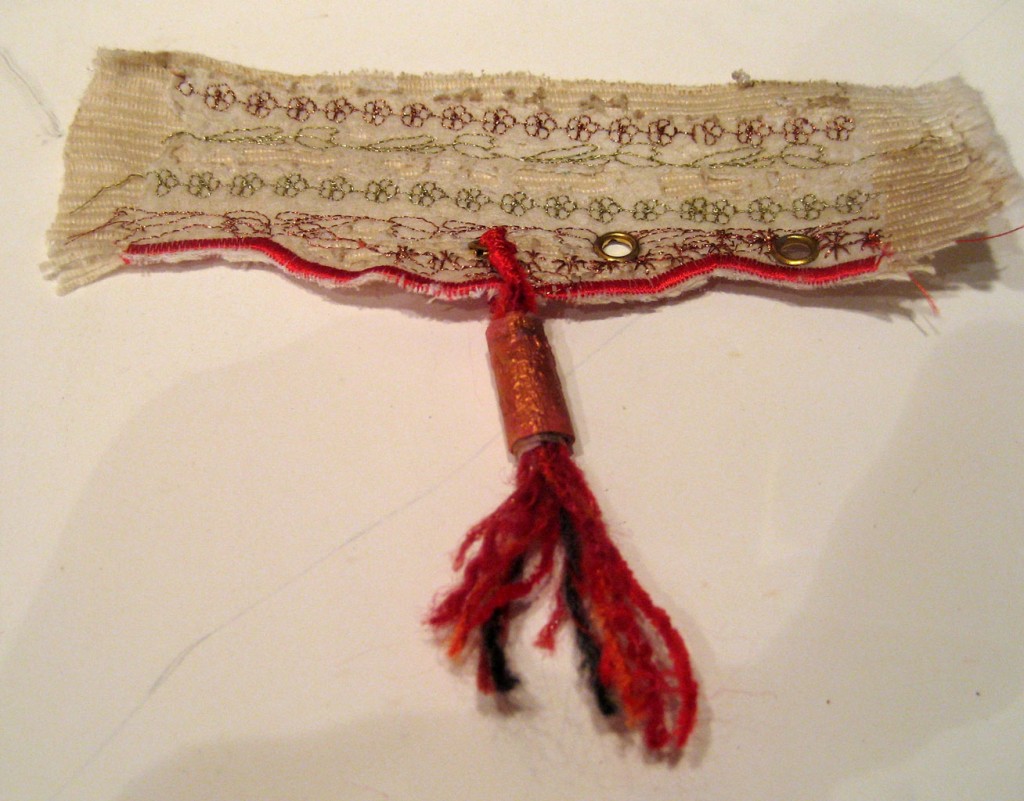
I think the experiment below will work well for the top and bottom borders. The tassel needs to be a little longer and fuller.
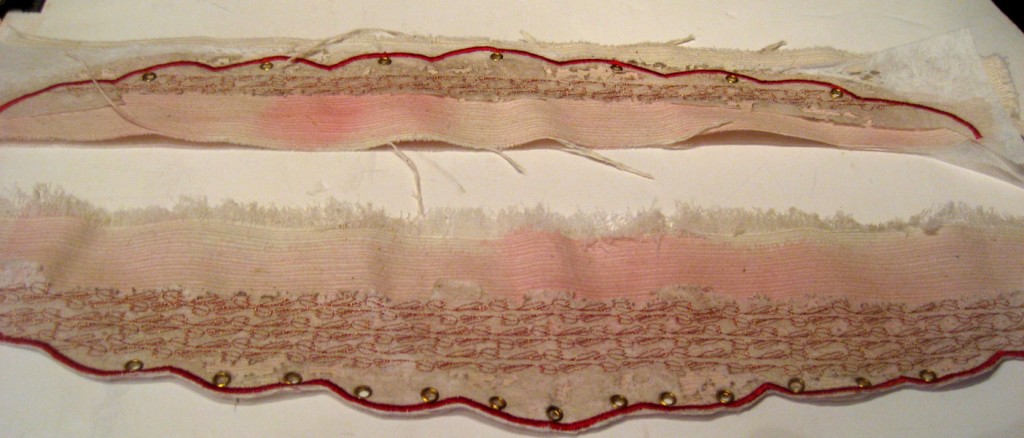
I haven’t trimmed these borders yet. They will actually end at the stitching and will be stitched or tacked in place on the main work before I add the backing, so as to get them in the correst place. The lutradur has been burnt back in places.
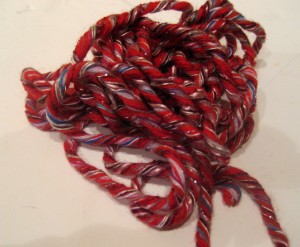 This cord will be threaded through the eylets and looped round a pole.
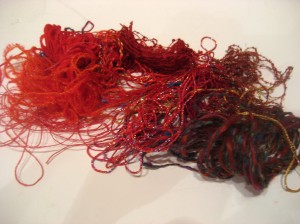 I will use these threads to make the tassels hanging from the bottom border.
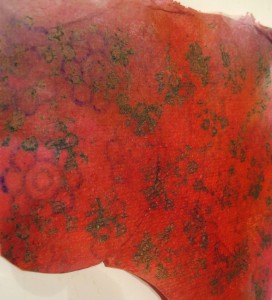 This is some paper I ahd left over from earlier work, layering and painting dye spotted kitchen paper and napkins. I’ll add a bit of copper and gold paint as there is a bit too much pink in the paper.

