I spent last week in Luçon in France doing a week long workshp with Val Holmes entitled Silk and Lace.
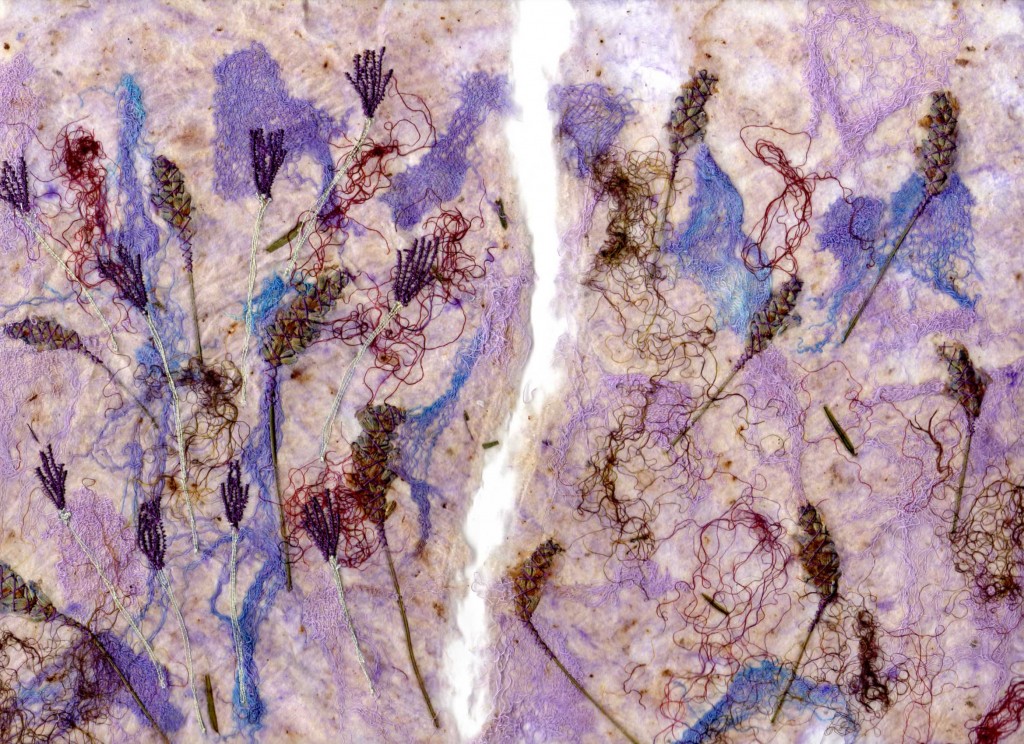
This was originally one piece which I subsequently separated into two pieces using the embellisher, rather than tearing or using scissors, to produce a textured edge. The paper is made using gummy silk cocoon strippings, with some additional fragments of blue scrim and stalks of lavender, sprayed with sennelier inks (ultramarine with a dash of fuchsia) and then ironed between two sheets of baking parchment. The piece on the left was then machine stitched with lavender flowers and stems while the included stems were embellished with hand stitched over the flowers.
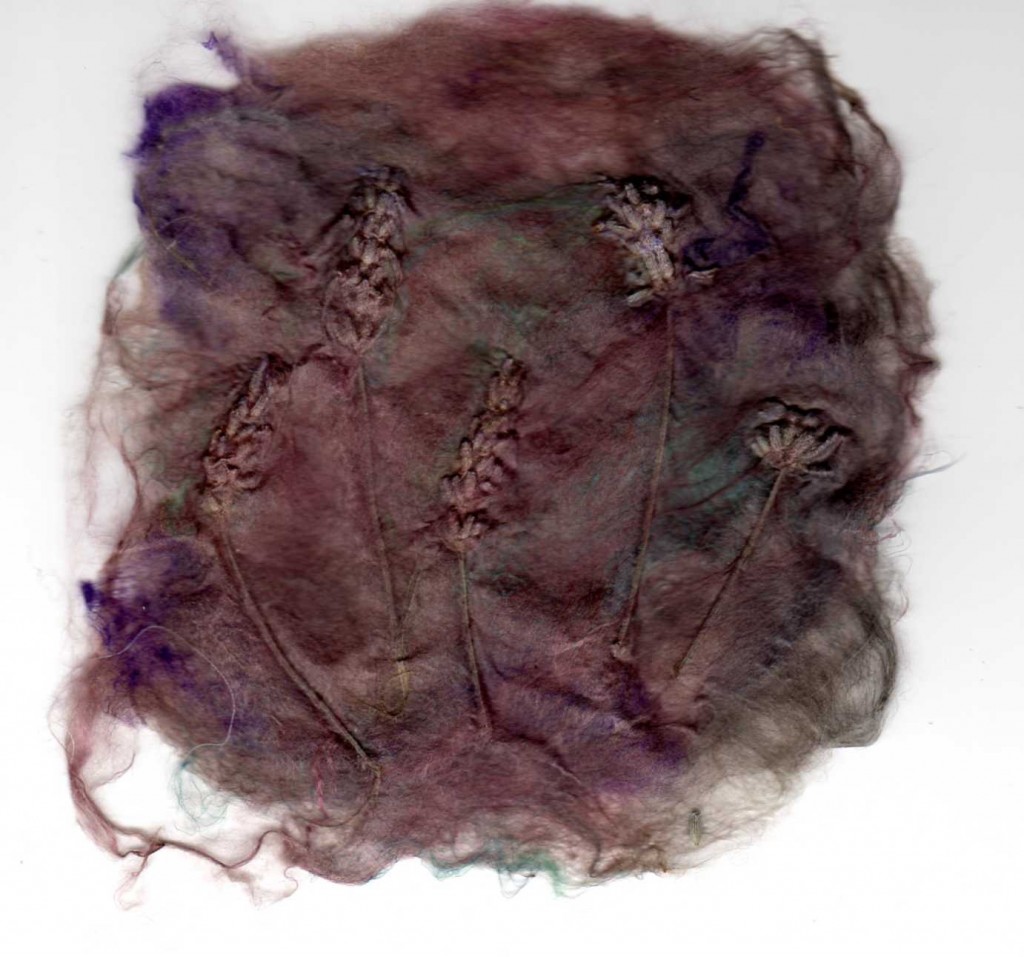
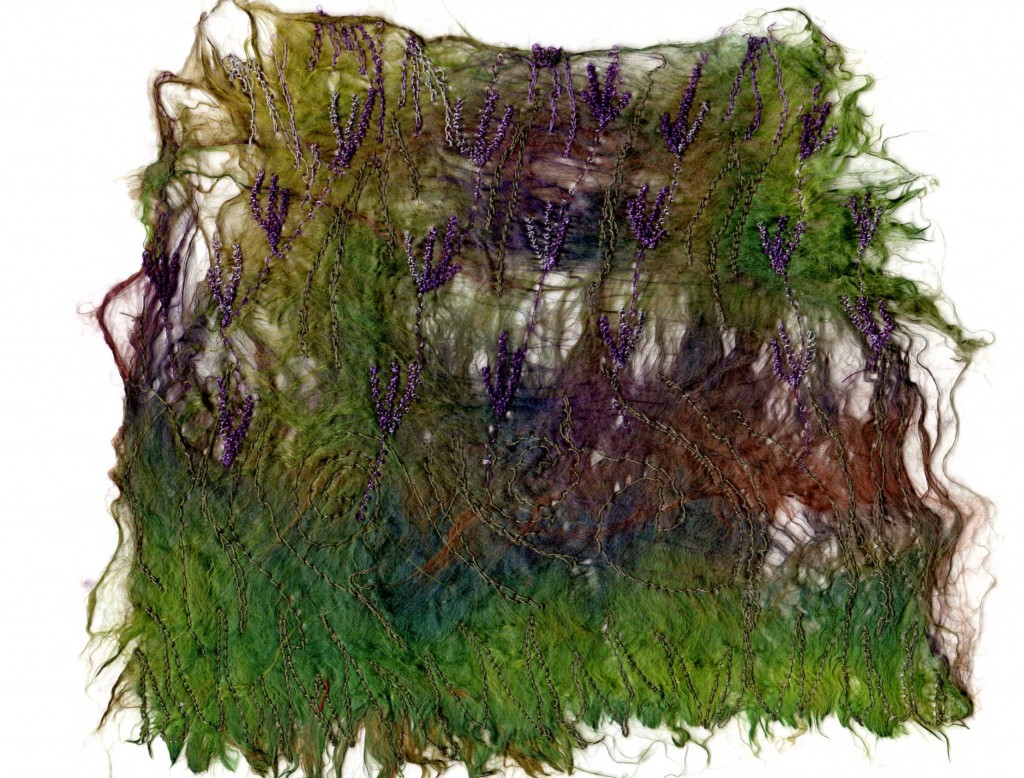
This piece was made using dyed silk tops and throwsters’ waste, glued together with wallpaper pasteand left to dry between sheets of plastic. Using this method the sheen of the silk is lost, but the lavender heads are easily seen.
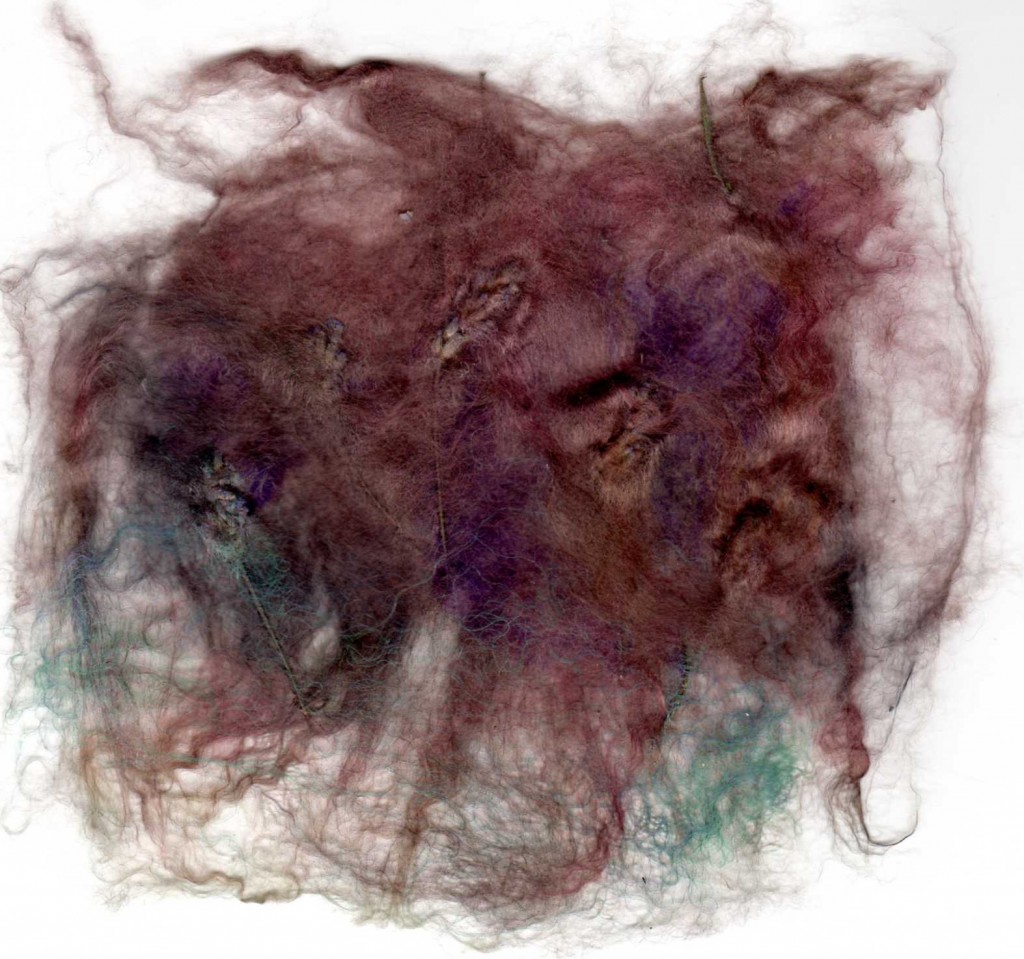
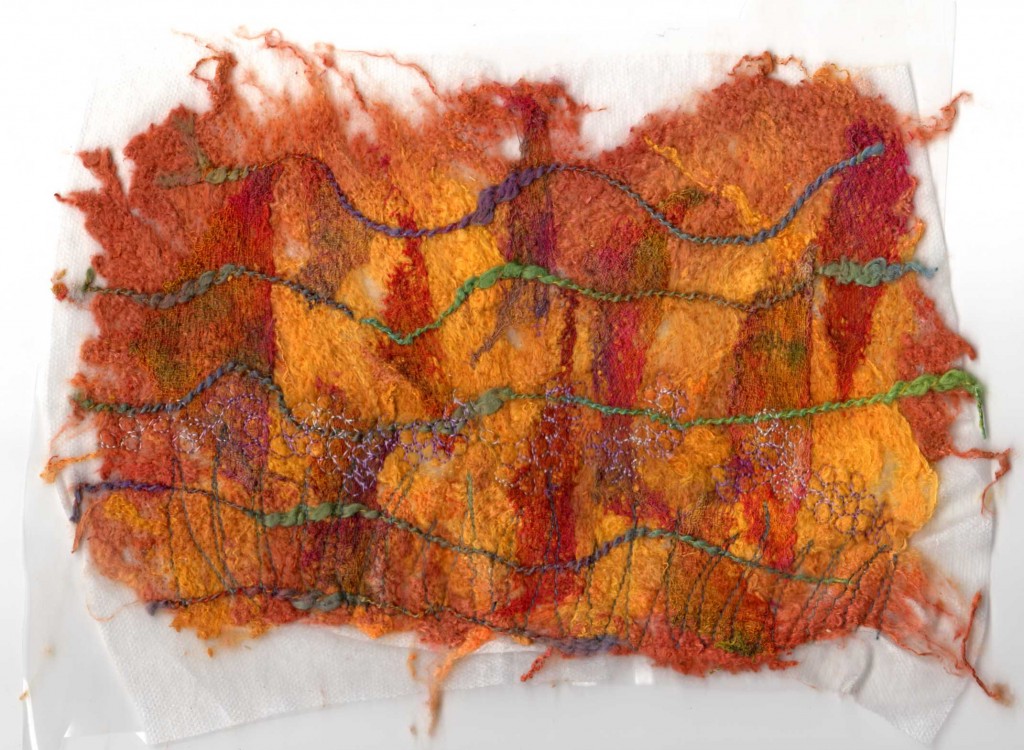
Same again, this time using a silk paper glue. The sheen of the silk is retained but it is more difficult to get the fibres to stick to each other and inclusions are not so visible.
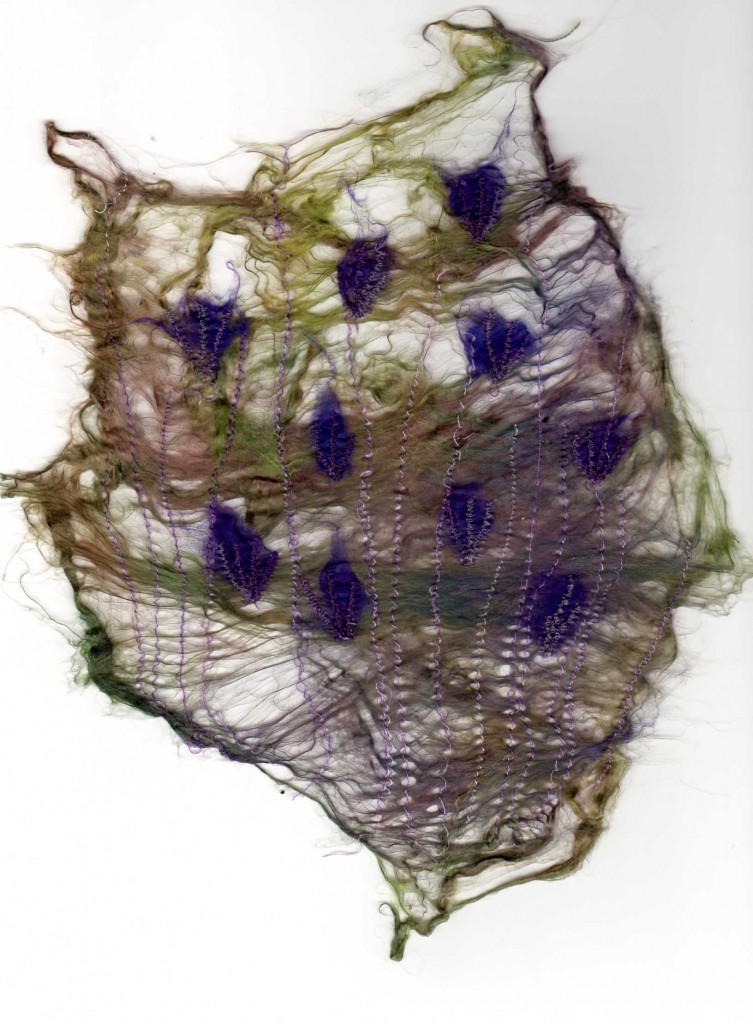
Dyed silk tops with additional bits of purple from a cocoon, placed between two sheets of Romeo transparent soluble, machine stitched and then washed out leaving just a little glue to hold everything in place.
Second piece worked in the same way. This represents the view from the studio window of grass, lavender and buddlia in the background.
This is worked using a layer of solufleece and the embellisher. Dyed cocoon strippings, scrim and thread. I then placed a sheet of Romeo behind in order to give a firmer surface for stitching. This needs completing and then the solubles will be washed out.
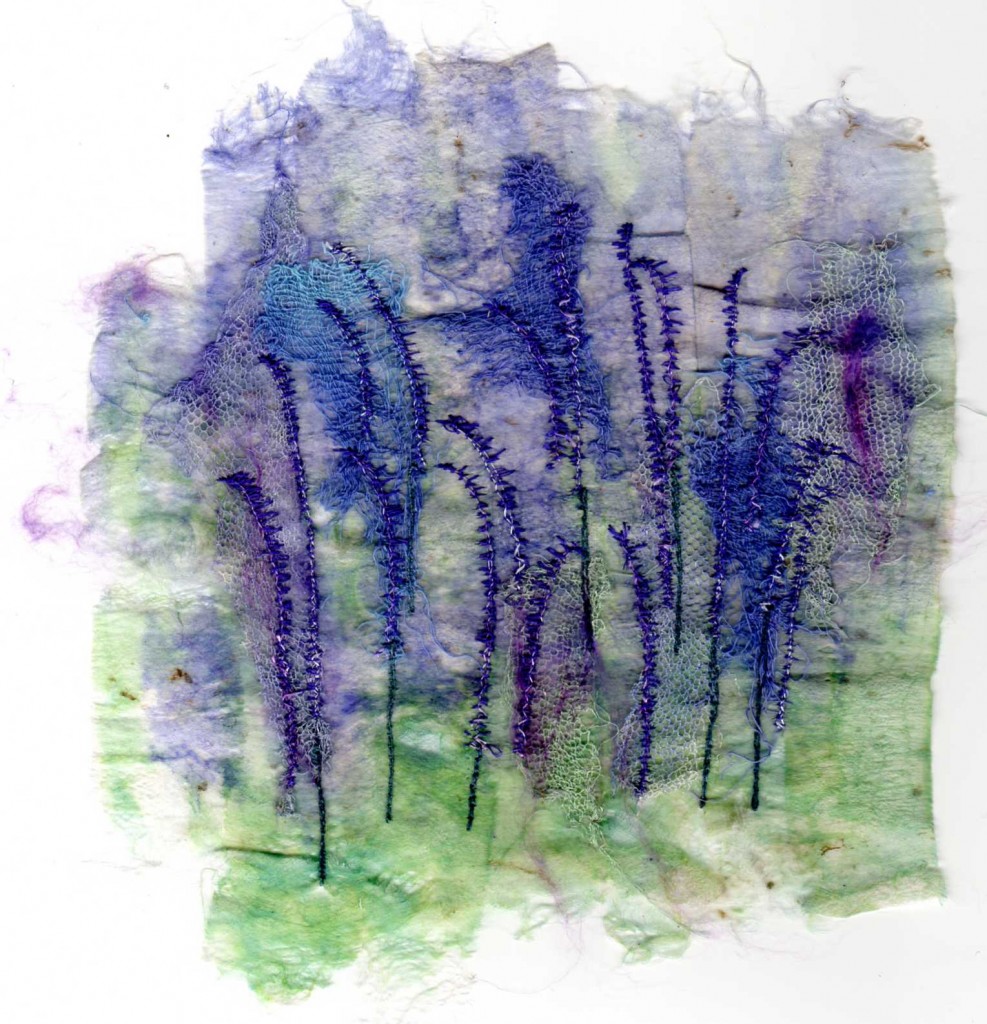
Silk carrier rods, soaked for 45 minutes, stripped apart, inked with ultramarine and green and ironed to produce a sheet. I used the embellisher to add bits of scrim and net and then machine stitched the flowers using a free zigzag stitch with loose tension on the bobbin for the flowers and whip stitch for the stems. With the elongated flower head shapes I think this is the most successful piece.
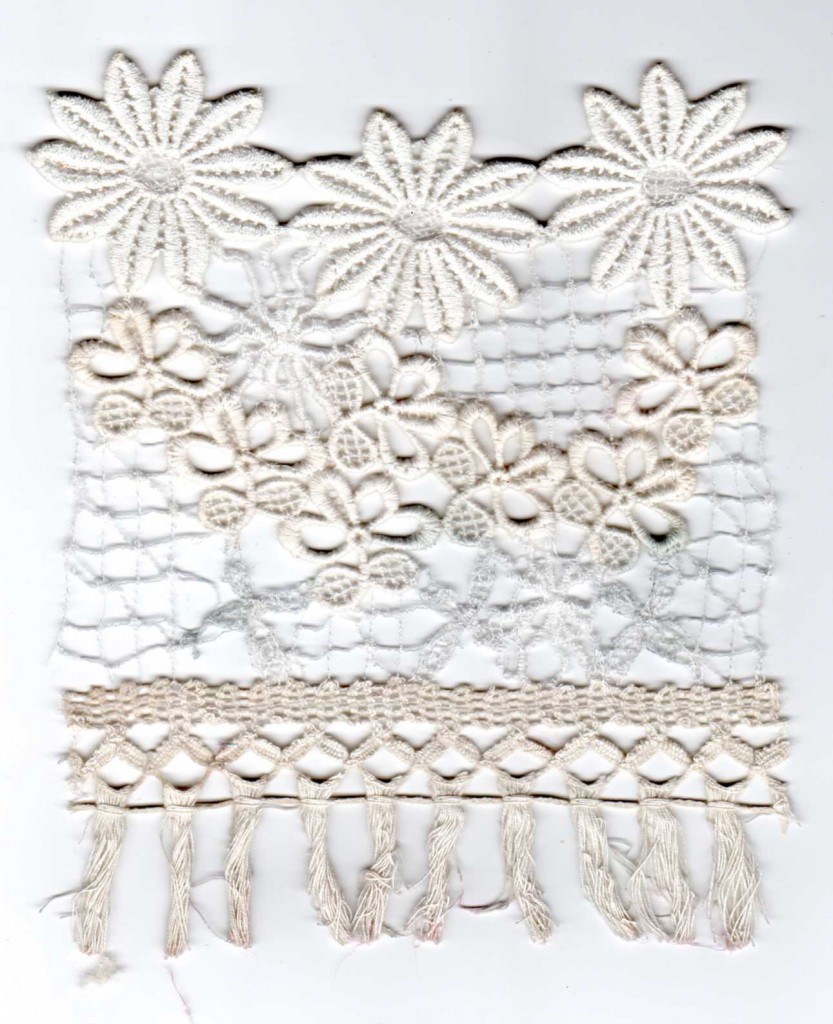
Three pieces of lace, tacked on to Romeo soluble, then stitched lace between to join up the pieces. It still has a bit of glue left and there are a couple of missed stitches that need repair before being soaked to remove the last of the glue.
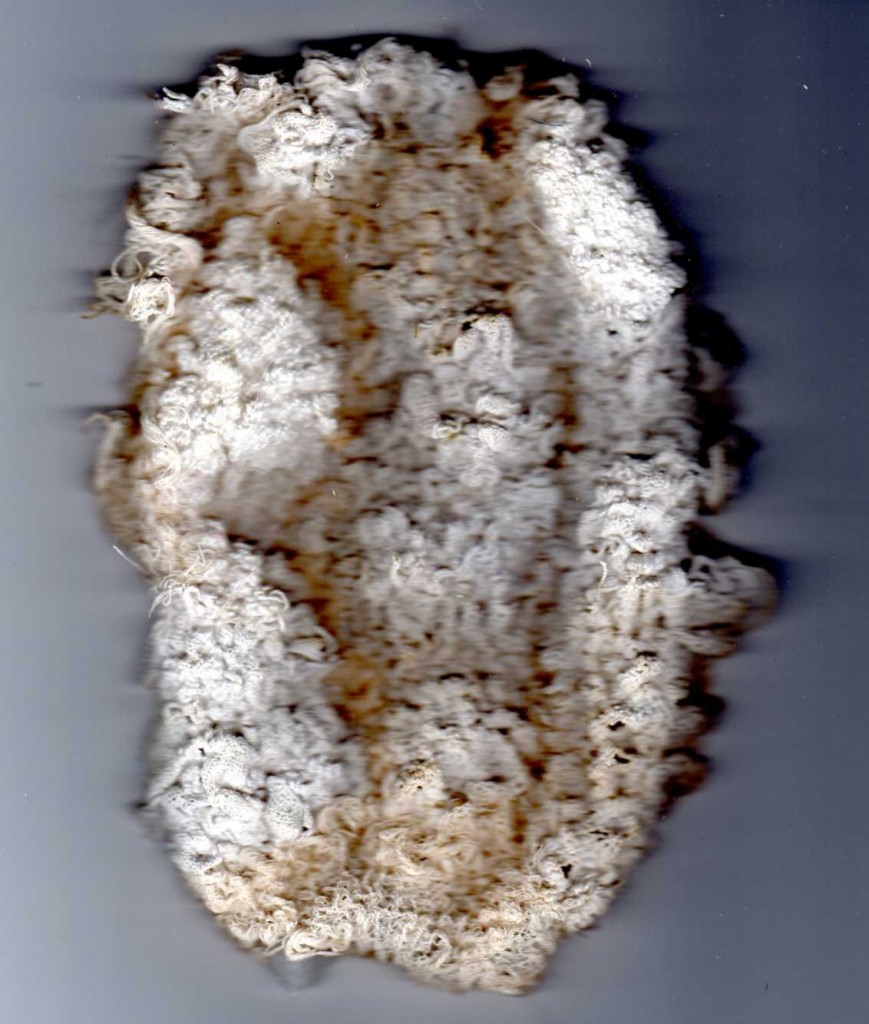
Pieces of chunky lace and scrim machined with vermicelli stitch on to Hot water Dissolvable fabric (HWDF). Instead of being dissolved in hot water it was dipped into tepid water (just below body temp.) until it shrank and wrinkled into this textured piece. Starting measurement was 28 X 21 cms; finished size 17 X 13 cms.
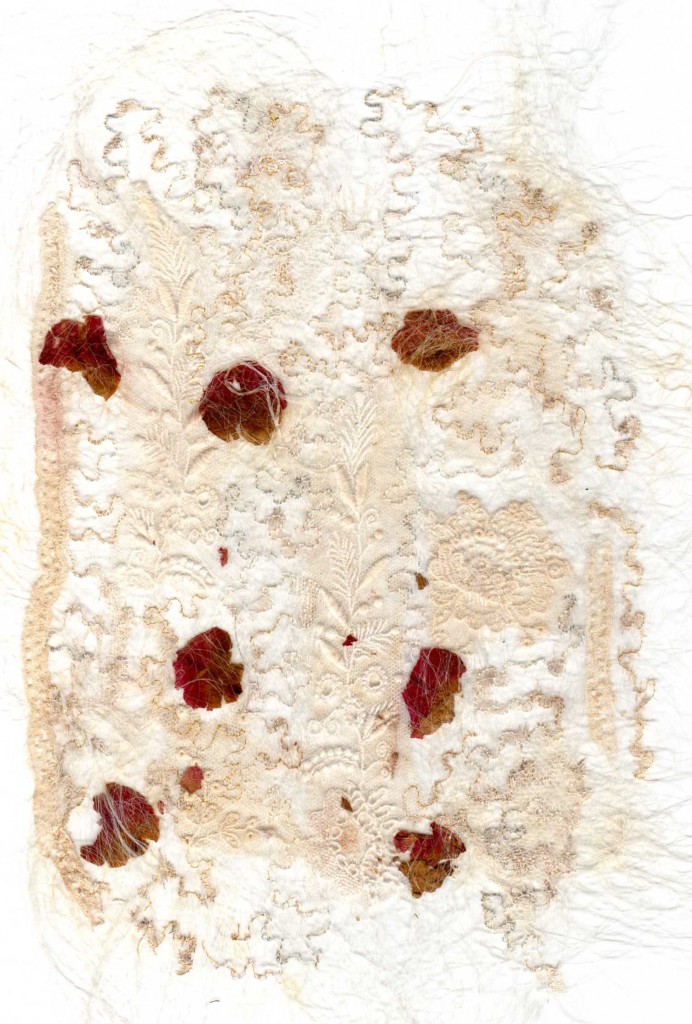
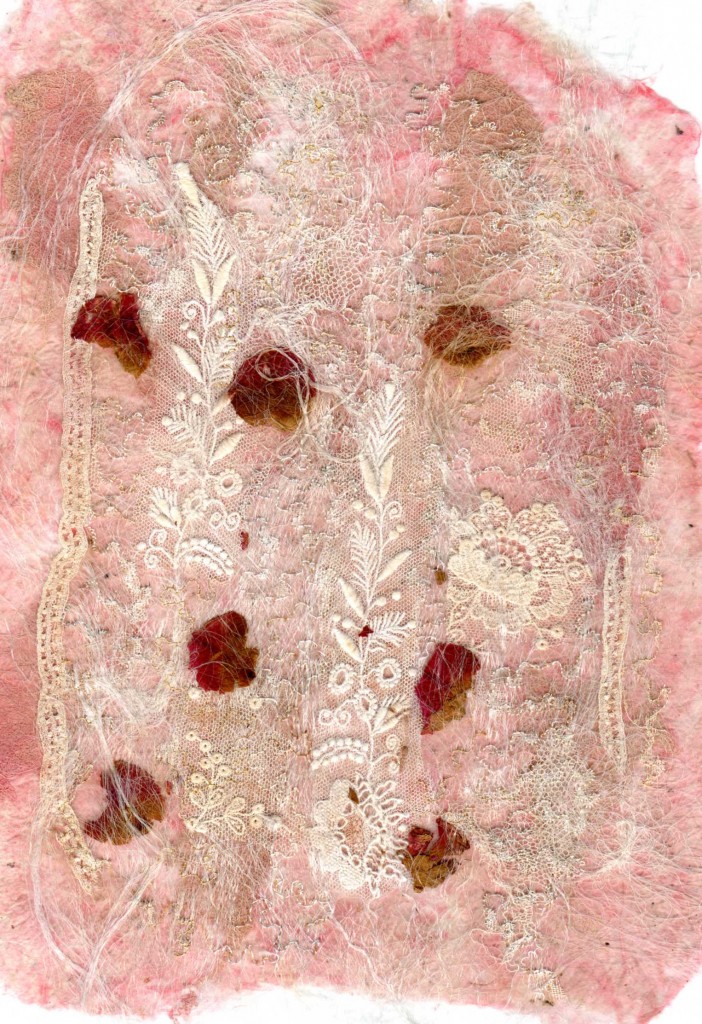
A very thin layer of gummy silk filament, layered with bits of laceand dried rose petals, which were thinly covered with more filament, wetted and then ironed between two pieces of parchment paper until dry. Vanishing muslin (thermogauze) was placed behind before it was stitched using vermicelli stitch in a gold thread and pale variegated cream. This was then heated from the back with a heat gun to get rid of the thermogauze. There are just a few tiny bits left to add a slightly aged look.
I then made a piece of paper with gummy cocoon strippings, dyed with pale rose ink before adding bits of scrim in grey and rose colours. Wetted, ironed. This was placed behind the lace piece. Further layers could be built up to give a complex composition. Haven’t yet decided how to proceed.
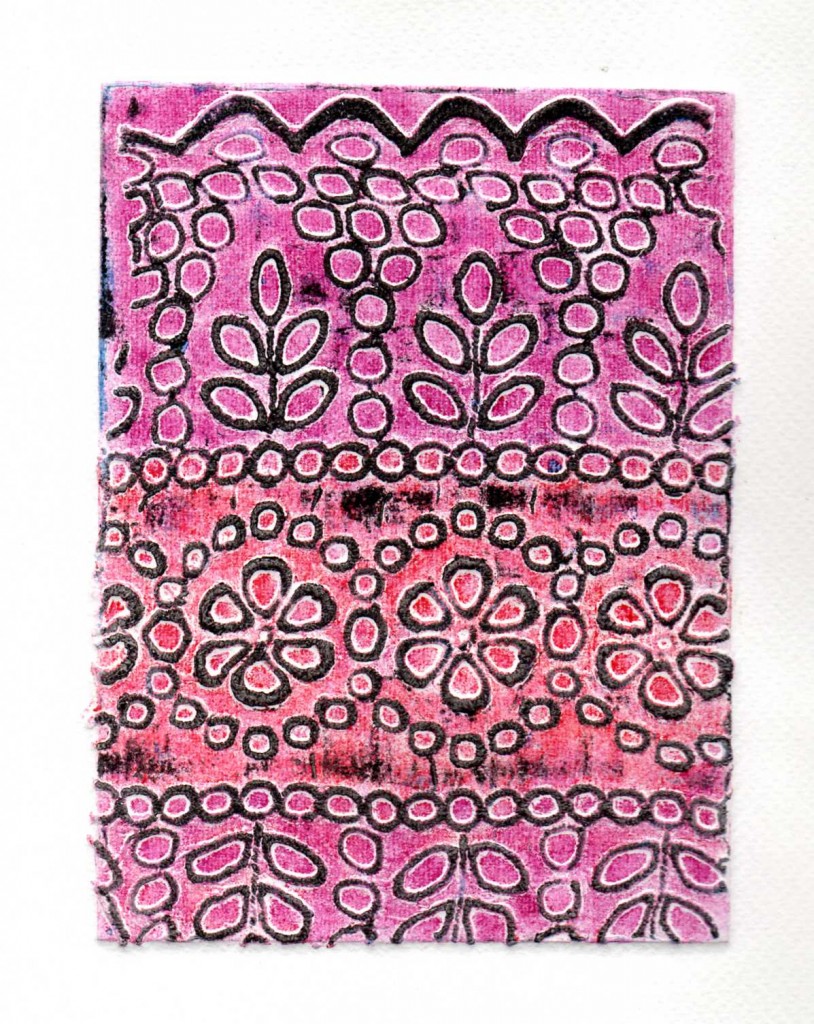
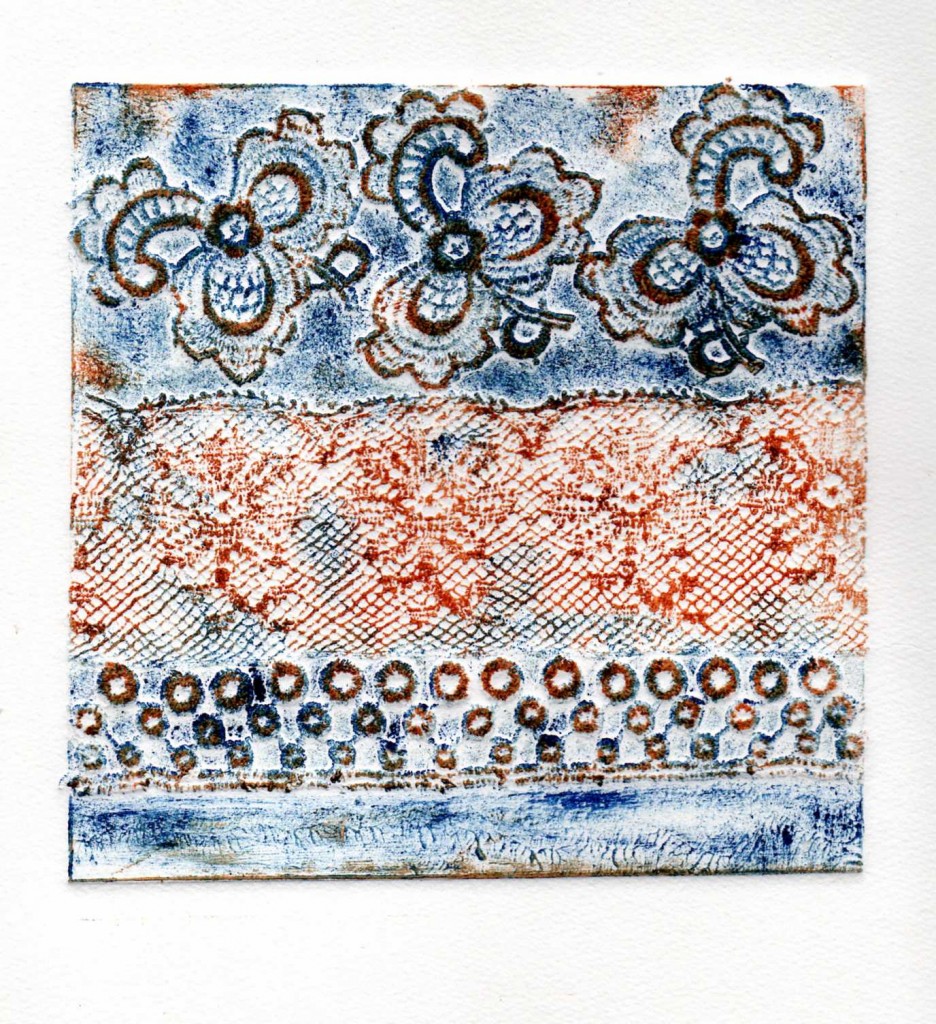
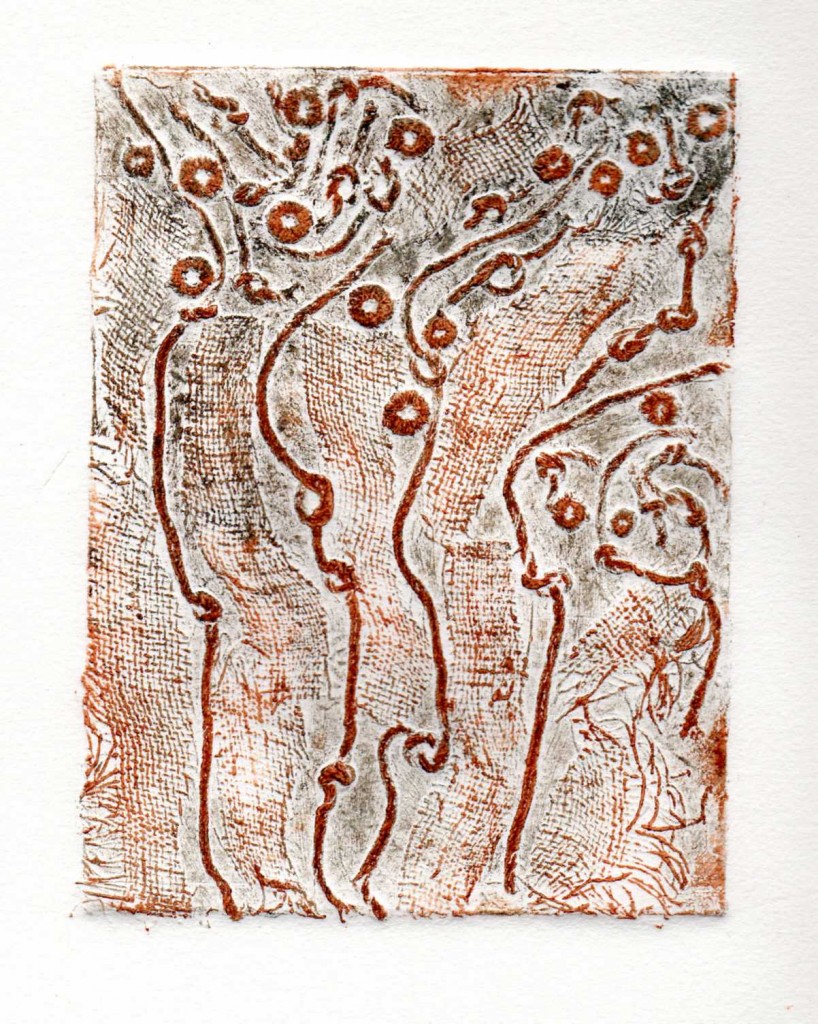
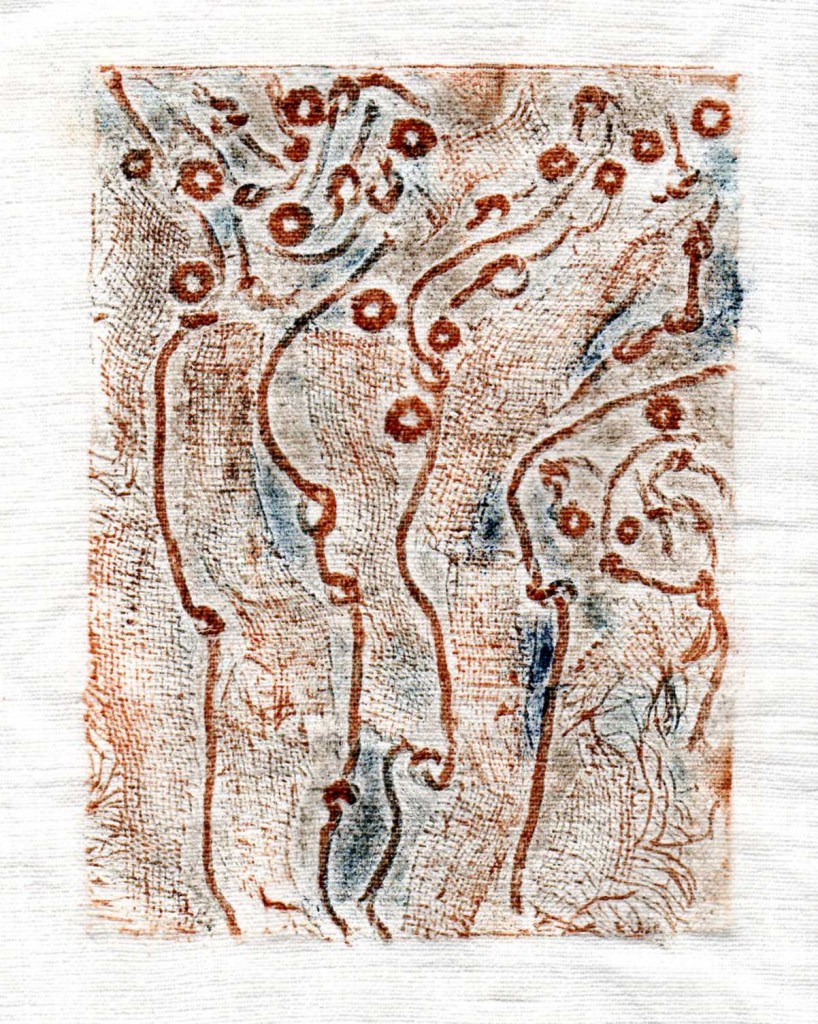
On the final day we made some collagraph plates and printed these on to both paper and cloth, using a printing press. (Collagraphy is the term used when you raise the printing surface instead of marking into it.) I made three plates – the first uses one piece of broderie anglaise glued on with PVA, the second has three pieces of lace with some empty spaces, glued with PVA and for the third I used double sided carpet strength tape and glued on pieces of linen scrim and lengths of thick embroidery cotton, knotted in place. All three were sealed with gesso.
The above three were printed on to heavy paper. I made lots of prints, some on craft paper to print off excess ink (oil based printing inks). Different colours can be used on the relief areas and in the background grooves and spaces. These are 3 of the better prints. The one below is on cloth. All could be stitched.
I had a wonderful week and there are lots more things I want to continue with and try out.
