So many ways of using colour, so many things to try! Here is my first work for this module.
I decided to add some colour to this image from Module 1 in order to try to better integrate the photo into the page. Watercolour wash, a collaged mug and oil pastel.

Watercolour pencils

Watercolour paints

A study of apples, pears and leaves using watercolour paints.
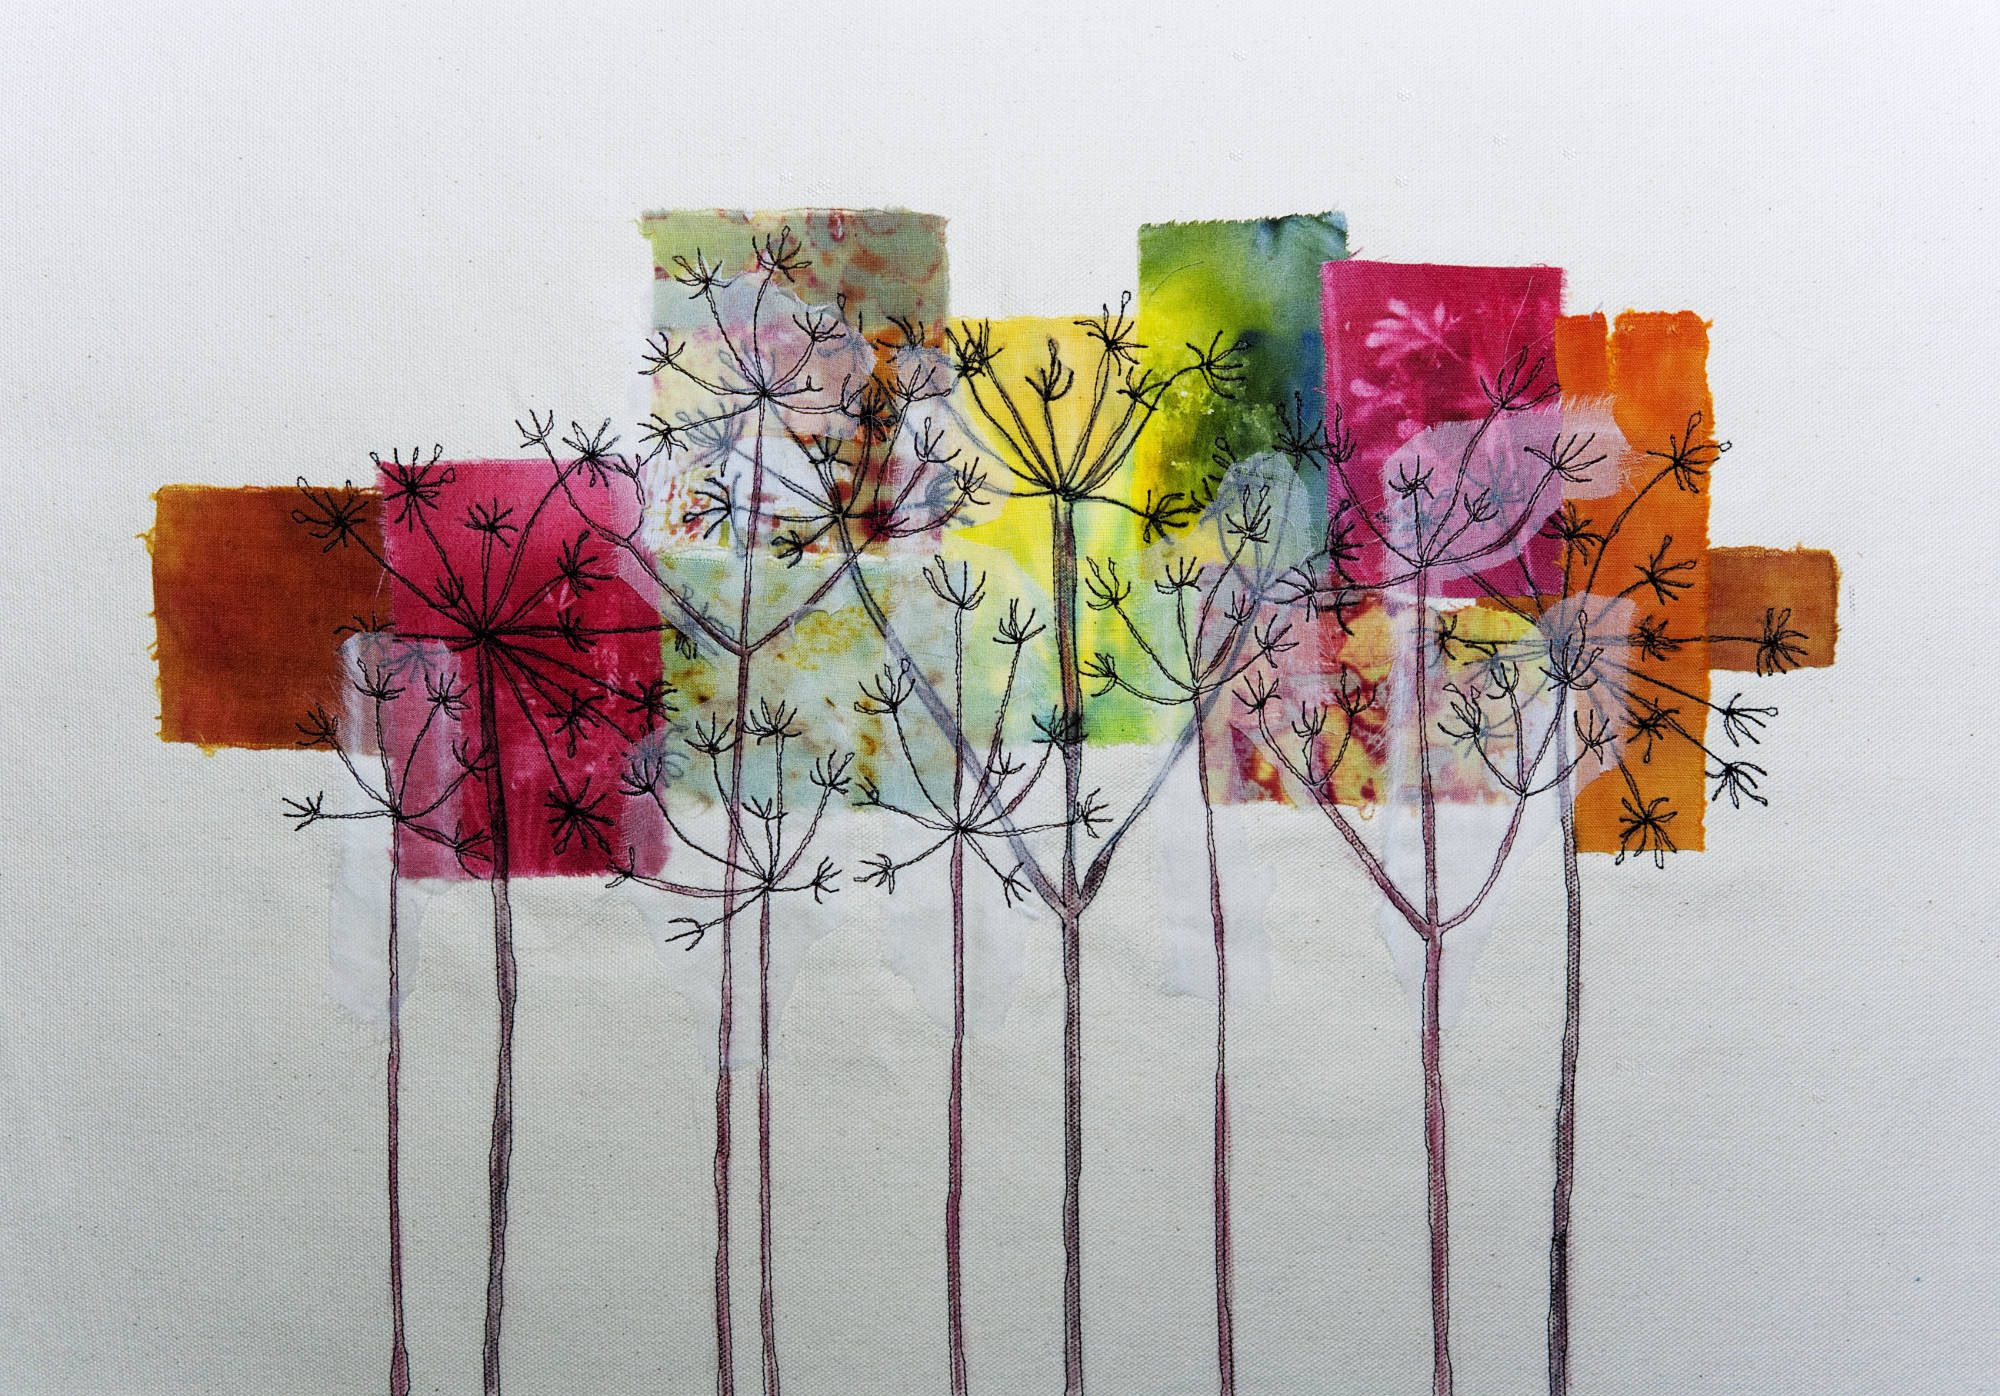
The garden falls into Autumn
I decided to get a bit more adventurous with this next project where the first page is cut away to show the pages underneath:

First I put a wash over the whole first page spread – green first, then a bit of brown and used a scrunched up paper towel to add texture. I’d done some watercolour studies of leaves on watercolour paper which I cut out and fixed to the left hand page with gel medium. The pear is painted using watercolours. The leaves on the right hand page are drawn with water soluble pencils. I cut away a shape to reveal the pear underneath which is painted. The one on the right is collaged, as is the leaf on the reverse of the cut away page. The rest of the leaves are painted. Finally I added the words.

Oil pastel and watercolour

Oil pastel was used first as a rubbing on card shapes and wire, watercolour was added to the forms and the oil pastel below the line. Finally a wash was added to the rest of the page.
Oil pastel and watercolour 2. Same technique as above.

Watercolour wash

I did this on watercolour paper and had the page at a steep angle. First the blue wash to which I added some salt, then I turned the page upside down for the red wash. I added some soft graphite pencil once it was dry. I love the unpredictability this method gives.
Watercolour and clingfilm

While the paint was wet I crumpled clingfilm over the whole paper and waited until the paint was dry to remove the film. This has a landscape feel to it so I intend to add other marks.